 Today I’d like to talk about resin.
Resin and I have a love/hate relationship mostly because it can be extremely temperamental. It’s one of those things that you really have to follow each step precisely, because if you don’t, it will end in tears.
I’ll explain the process that takes place to give you a better understanding of what I’m talking about.
Before I start with the resin, I prepare each item. Because resin has a mind of its own, I mask each item with liquid latex. This protects the parts of the surface where I don’t want the resin and protects it from those unsightly drips. For instance, I run a thick layer of latex around the edge of my coasters on the reverse side as resin tends to run over the edges and then back into the middle of the reverse side. After the latex has been added, it takes around an hour to dry depending on the temperature on the day.
Resin comes in two parts which are mixed together to form a sticky, thick liquid. Firstly, each part must be measured precisely in order for the resin to set.
Then comes the mixing process. The mixture must be stirred for at least 4 minutes in order for the 2 parts to be combined properly. Scraping the sides of the mixing cup, scraping the stirrer and mixing, mixing, mixing. During this process the resin gives of lots of tiny bubbles which float through the air, therefore a mask is a necessity because I’m pretty sure it’s not healthy to breathe in resin bubbles!
Once the mixing is done, it’s time to actually pour the resin.
Gloves are a must for this process. I seem to end up with the sticky solution on my fingers and it’s not easy to clean it off.
Pouring the resin is such a satisfying process. The thick solution pours slowly onto the surface and then gently spreads. It needs a bit of help to cover the entire surface, so I either use a stirrer or my fingers to ensure that there are no spots left uncovered.
The next problem is that thousands of tiny bubbles are formed in the resin during mixing. This makes the resin cloudy and if they are left as they are, will cause the resin to dry with a cloudy, bubble-ridden finish.
Here is where my trust blow torch comes out! The heat from the blow torch clears the bubbles, but there’s definitely an art to doing this. I learnt the hard way that it’s very easy to burn the resin and leave an unsightly mark on the item. With this in mind, the blow torch is passed over the resin in short spurts, but done several times, until all of the bubbles are gone. This can take quite a long time but the end result is magic!
Next, we have to keep those annoying resin drips under control! The resin tends to find its way to places that it shouldn’t be, so I continually wipe the drips for approximately 1 hour or until they stop forming. This process is well worth taking time over, because if drips form and the resin sets, the only way to get rid of them is to sand it back and then pour another layer of resin.
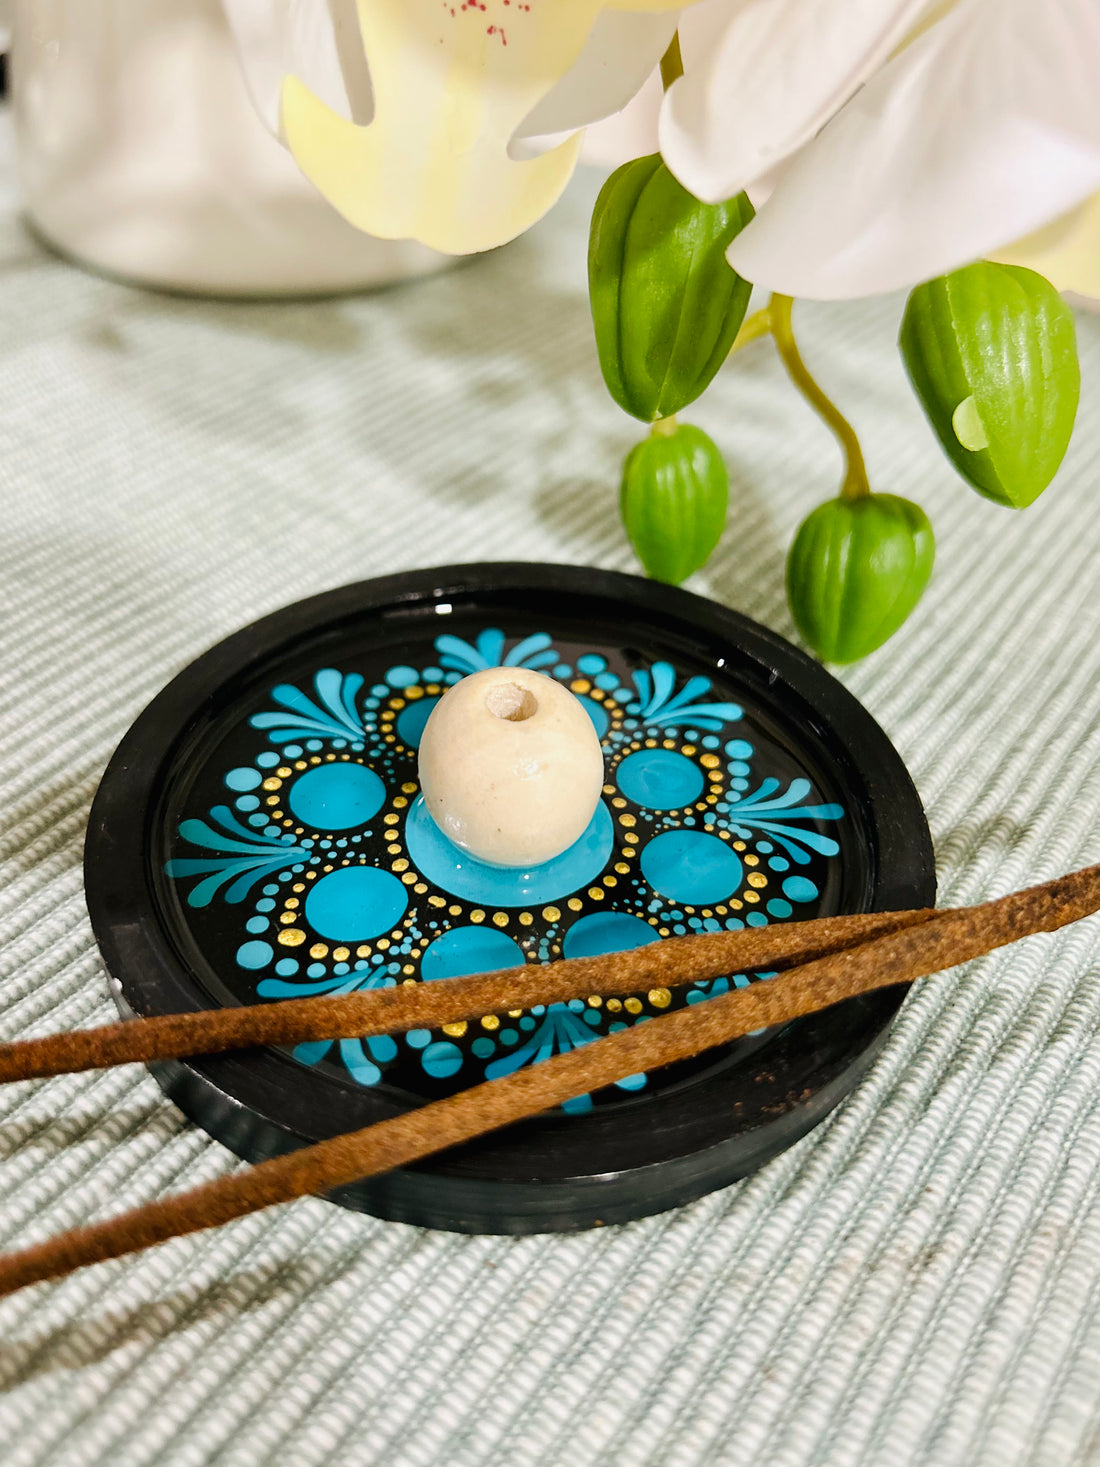
So now we have finally finished the pouring process and it’s time to let the resin set and perform its magic! And oh what magic it is! The finished item is so smooth and has that glass-like shine! The resin also makes the colours pop which I love. From a practical viewpoint, the resin provides a hard, non-sticky coating which protects the surface of the item from being damaged as it sets rock-hard.
Resin is awesome but temperamental, but as they say, all good things are worth waiting for, and this is definitely worth waiting for ❤️

